新建算子工程开发算子
- 创建工程与IR json文件。
- 执行如下命令返回根目录。
cd ~
- 创建AddCustom.json文件。
vim AddCustom.json
- 键盘按下“i”键进入INSERT模式,复制以下内容至文件,以AddCustom为例:
[ { "op": "AddCustom", "language": "cpp", "input_desc": [ { "name": "x", "param_type": "required", "format": [ "ND" ], "type": [ "float16" ] }, { "name": "y", "param_type": "required", "format": [ "ND" ], "type": [ "float16" ] } ], "output_desc": [ { "name": "z", "param_type": "required", "format": [ "ND" ], "type": [ "float16" ] } ] } ] - 编辑完成后,按“ESC”键退出INSERT模式,执行:wq保存AddCustom.json文件。
- 执行如下命令返回根目录。
- 使用msopgen工具创建Ascend C算子工程。
/usr/local/Ascend/ascend-toolkit/latest/python/site-packages/bin/msopgen gen -i AddCustom.json -f tf -c ai_core-ascend310b -lan cpp -out ~/AddCustom

- 开发算子的host侧代码及kernel侧代码。
可参考Samples仓AddCustom算子样例,host侧:
cp ~/samples/operator/AddCustomSample/FrameworkLaunch/AddCustom/op_host/* ~/AddCustom/op_host/
kernel侧:
cp ~/samples/operator/AddCustomSample/FrameworkLaunch/AddCustom/op_kernel/* ~/AddCustom/op_kernel/
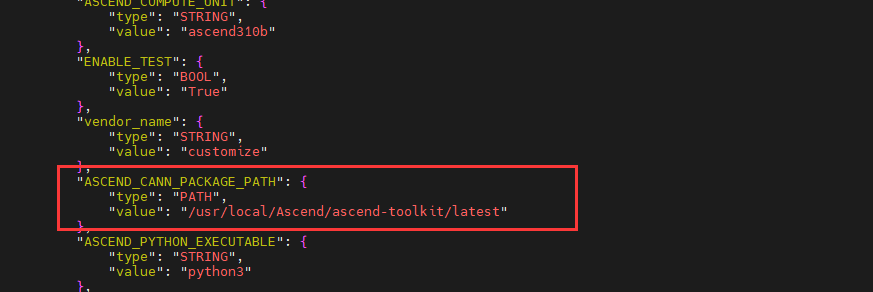
- 修改算子工程中配置文件CMakePresets.json,将CMakePresets.json中ASCEND_CANN_PACKAGE_PATH的value值修改为实际CANN包安装目录/usr/local/Ascend/ascend-toolkit/latest。
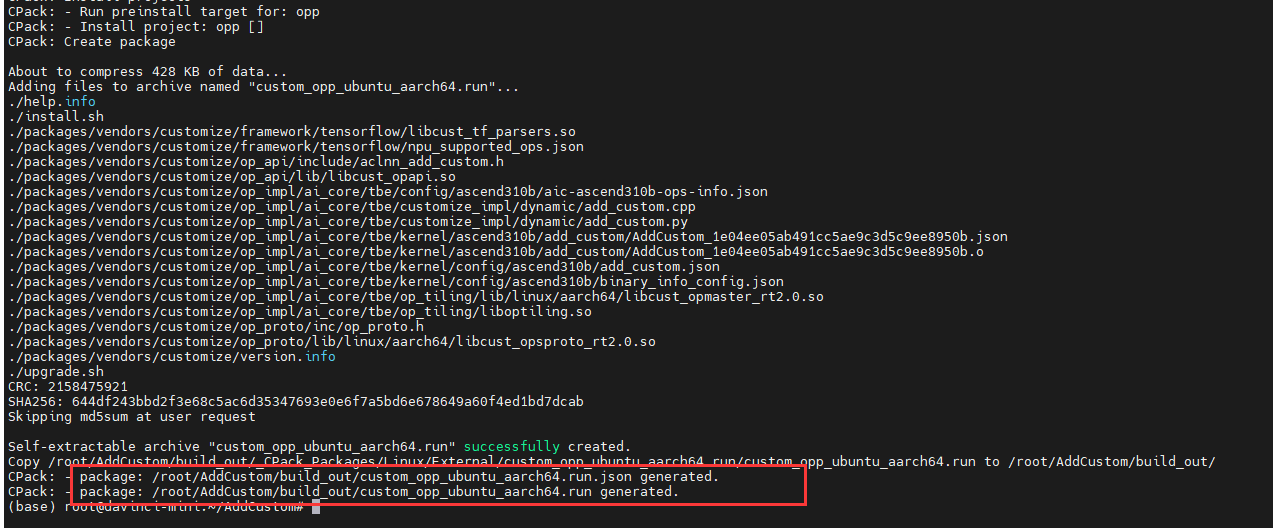
- 编译生成算子安装包。
在AddCustom目录下执行如下命令编译自定义AddCustom算子,生成算子安装包。
./build.sh